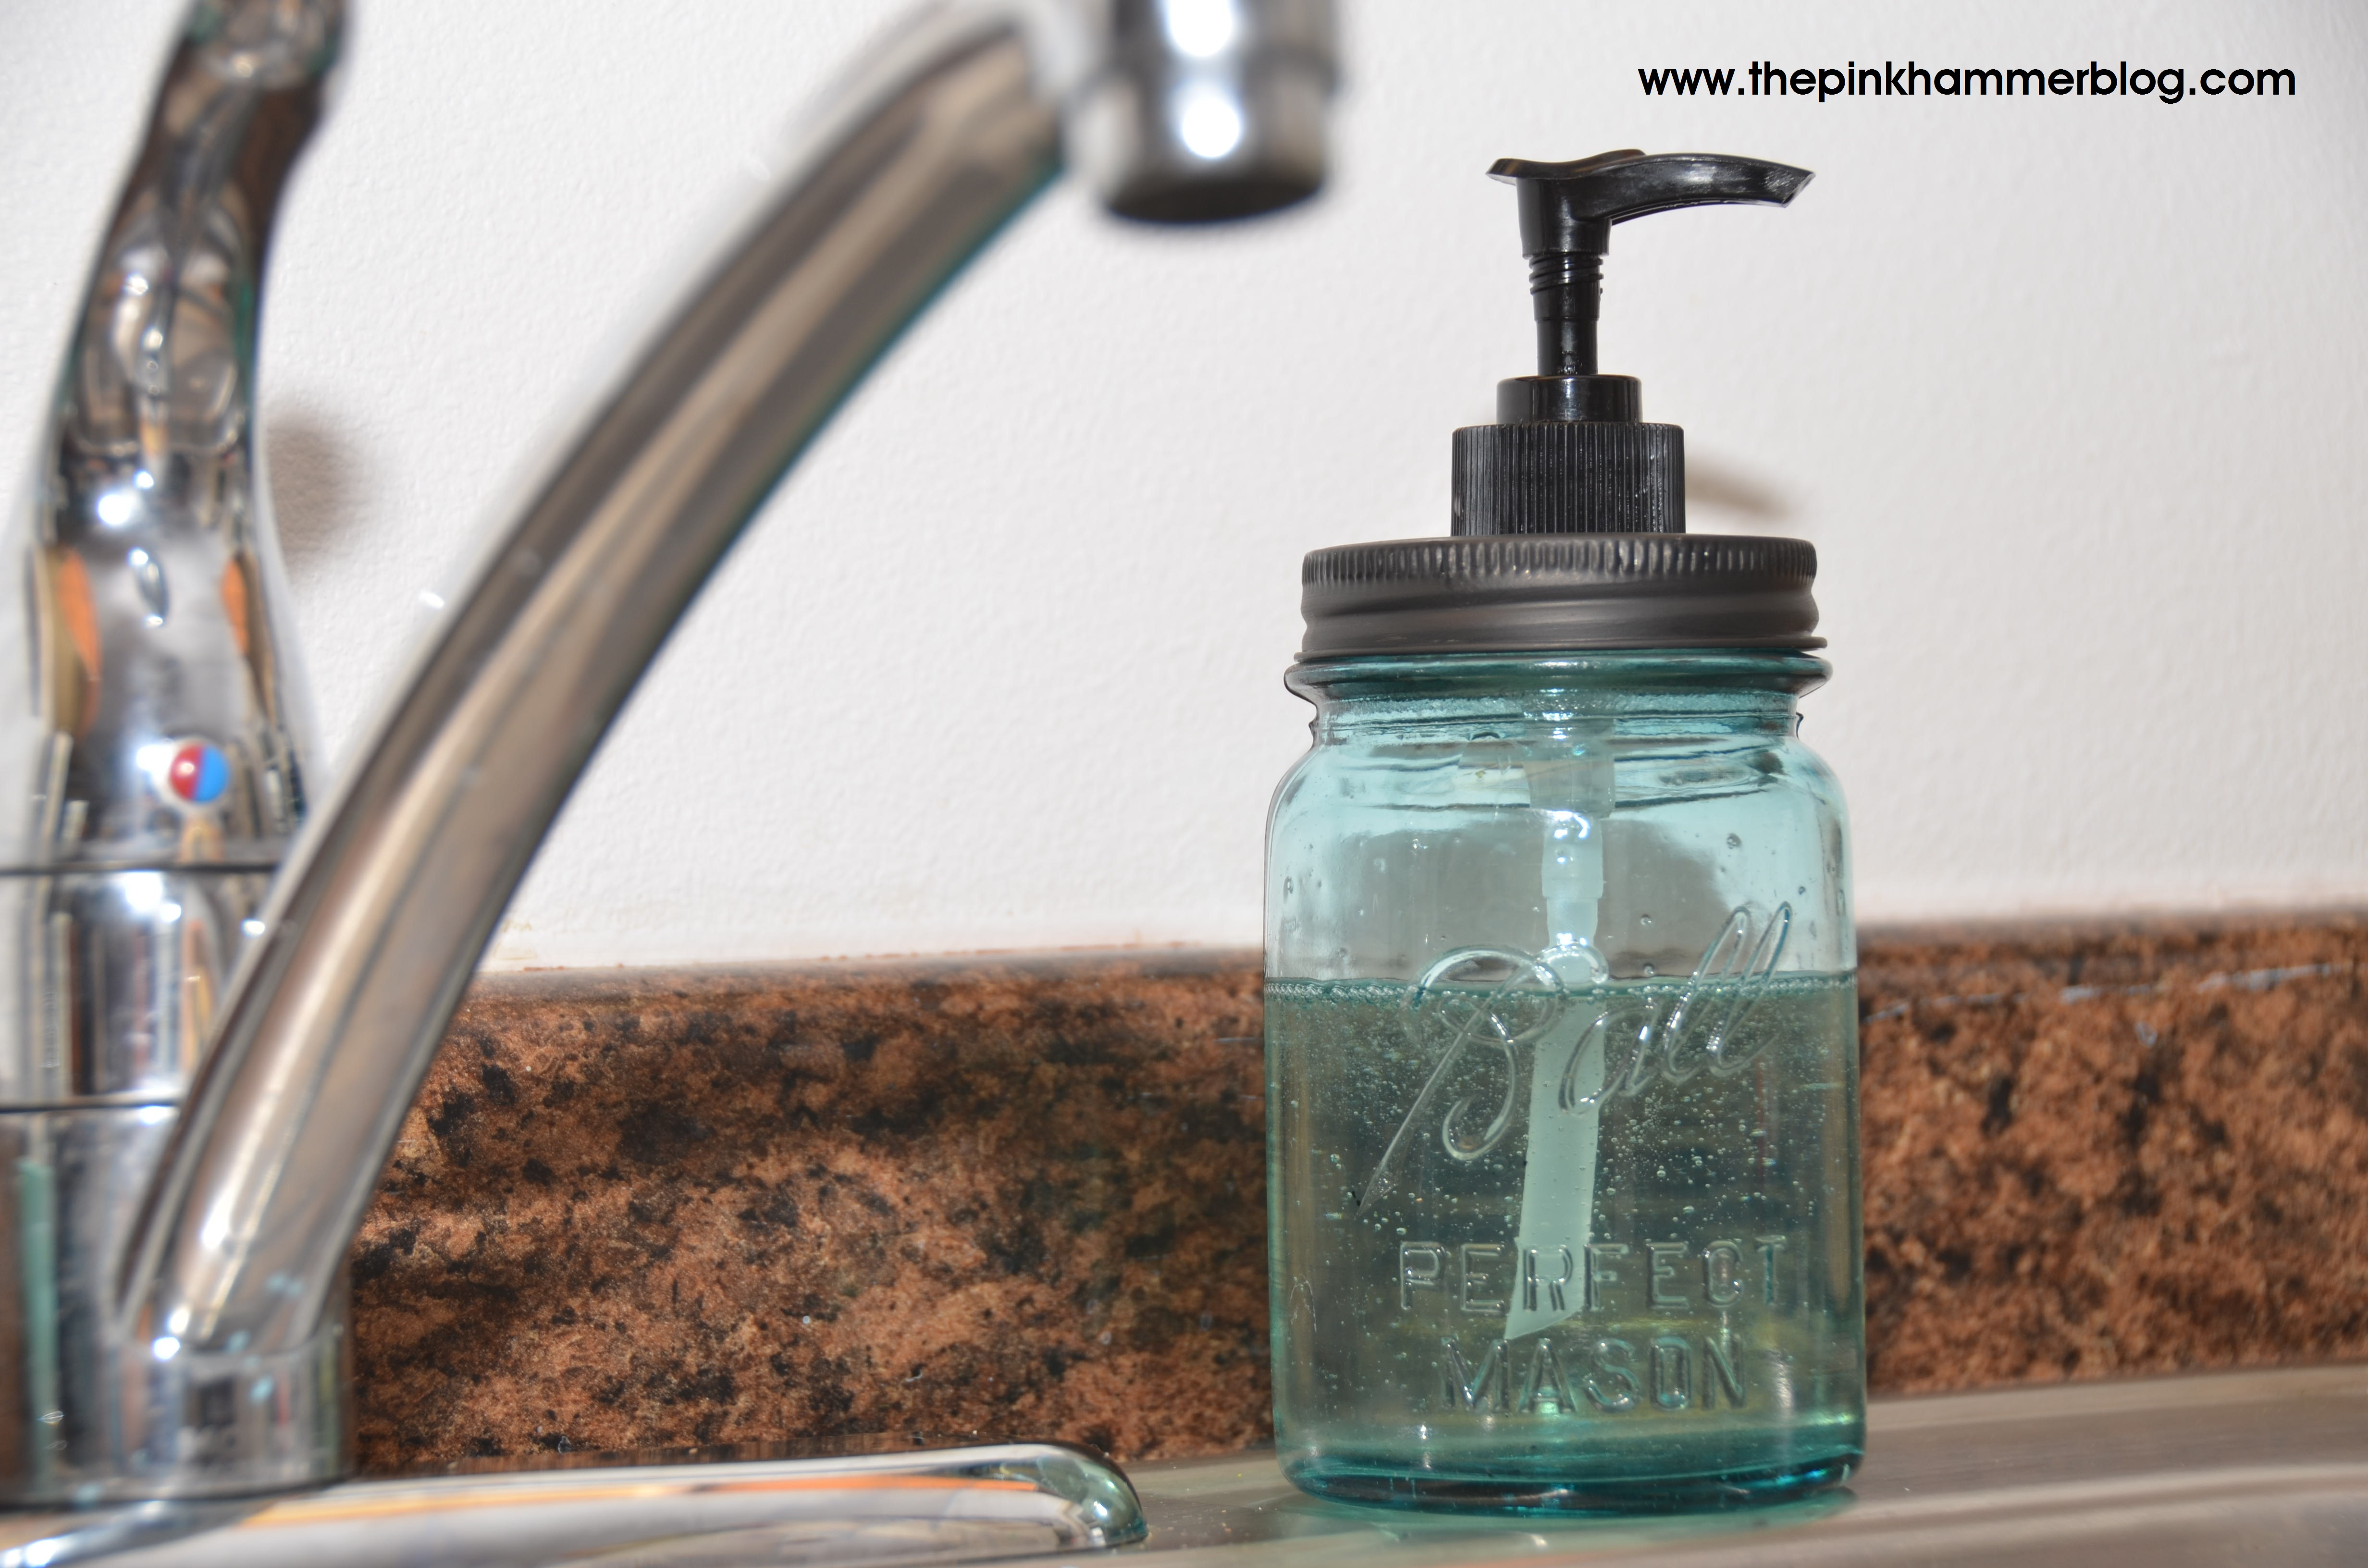
I love mason jars! Especially the blue antique ones. They look so beautiful when used as home decor and there are many ways to use them in your own home. Last Summer we moved into a new house that sits on 18 beautiful acres, most of it a steep hill, which is full of ‘junk’ from owners of years ago. While my parents were here late in the Fall, my mom and I set out on a junk hillside adventure to see what we could find. We had found a rusty metal bucket and as my mom was trying to dig the handle out with a stick, she hit something buried completely under the dirt, we kept digging gently, so we didn’t break whatever it was. Sure enough, it was a whole antique blue mason jar! What are the odds that it was still whole?! Pretty slim! Every other mason jar found on the property was broken to bits and pieces.
Today I had the inspiration to create something out of that old jar and put it back in the home it most likely came out of, years ago.
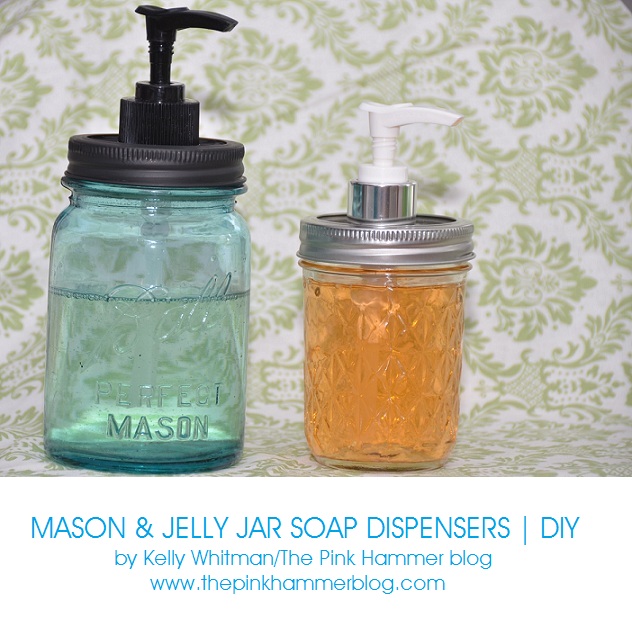
Mason + Jelly Jar Soap Dispensers
by Kelly Whitman of The Pink Hammer blog
Supplies:
-1 blue mason jar and metal lid
(I used a new metal lid off of a store bought jar, and it fit right on the old blue jar )
-1 jelly jar
-2 soap dispenser tops
-Hammer + Nail
(Or Drill + Drill bit … our drill somehow disappeared, so I found my own way to do it without a drill. Plus I think it’s time I buy my own drill so I know where it’s at, at all times 😉 )
-Needle nose pliers
-Hand Soap
-Scissors
-Paint/paintbrush (if desired)
Instructions:
1.) Using your hammer and nail, pound a hole in the center of the metal lid. Continue to do this about 4-5 times close together.
2.) Using your needle nose pliers, peel or push the metal under to create a large hole. Make sure your hole is big enough to fit your entire soap pump , just like it sits in a regular container. BUT do not make it too big, or it will not sit correctly. It is best to make it just a tiny bit too small and force the pump into the hole to create a tight hold.
(If you are lucky enough to know where your drill is, that would be much easier. Just find the correct drill bit – one a little smaller than your soap pump-and go!)
3.) Place the soap pump into the hole you just created in the metal lid.
4.) Cut soap tube at an angle so it fits nicely into the jar.
5.) Fill jar with soap.
6.) Attach lid & lid ring tightly.
7.) Paint lid/lid ring to match soap pump (if desired)
7.) Wash your hands to make sure it works good! 😉
These mason jar and jelly jar soap dispensers add a nice element to your bathroom or kitchen. They would also make fun gifts for friends or family. I am happy I found a new home for my old blue mason jar, that less than 1 year ago was buried under ground.
I love giving new life to old items! What is something you’ve given new life to lately?